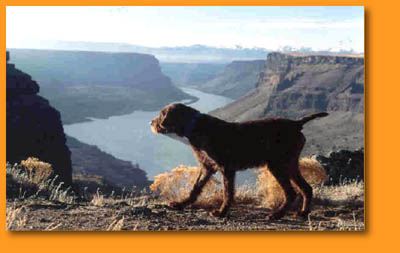
 (Be sure to click on the individual pictures to read about the story behind the photo.) |
||||||||||
|
 |
|||||||||
(Be sure to click on the individual pictures to read about the story behind the photo.) |
||||||||||
|
|
|||||||||
| Cedarwoods Home |
| Photo Gallery | Breeding Stock |
| Genetics | Pudelpointer History | Breeding Program |
| NAVHDA Testing | Pudelpointer Links | Magazine Articles | Upcoming Litters |